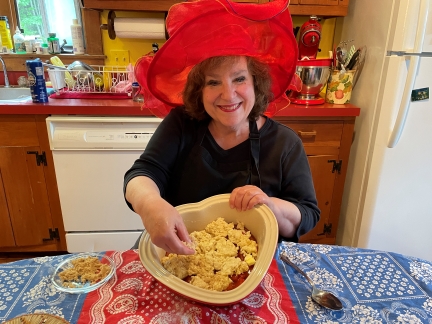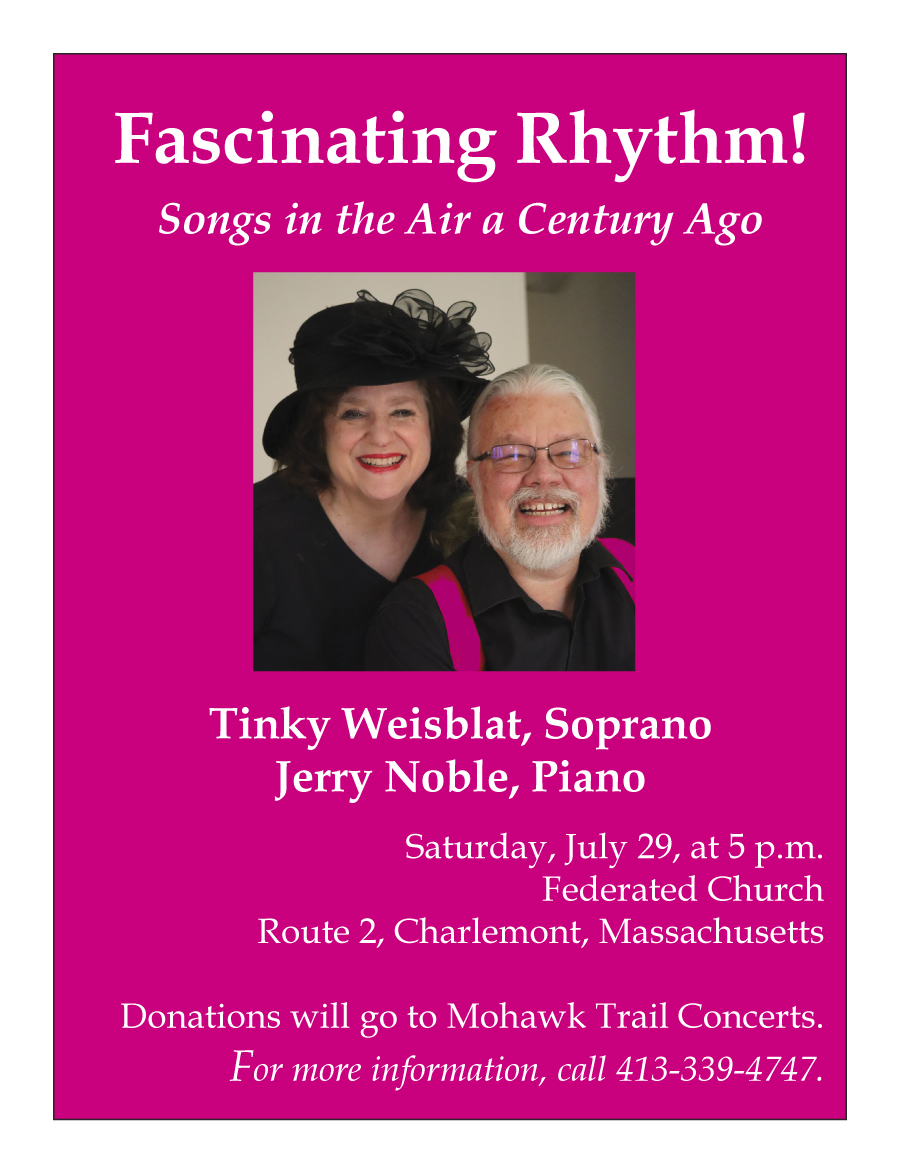
I’m immersed this week in the 1920s. Pianist Jerry Noble and I are getting ready for a concert on Saturday called “Fascinating Rhythm: Songs in the Air a Century Ago.” We’re trying to recreate some of the sounds of that fascinating decade.
Part of my job in this collaboration is to select and learn music that was popular during the 1920s, and leading up to that decade as well; musical taste doesn’t necessarily divide neatly itself by decades.
Jerry and I will actually start in the 1840s with Stephen Foster, the first American composer of popular songs to make a name for himself with still remembered hits like “Beautiful Dreamer,” “My Old Kentucky Home,” and “Hard Times Come Again No More.”
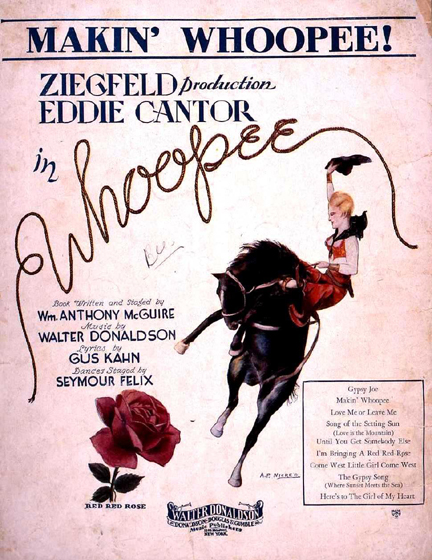
We’ll segue through Vaudeville and early Broadway hits before singing our way into the 1920s with such songs as “I’ll See You in C-U-B-A,’ a number about Prohibition, when people had to seek out alcohol overseas; “My Buddy,” a delightfully sentimental tune; and “Makin’ Whoopee,” a song about … well … sex.
Between numbers, I’ll do my best to place the music in context and to talk about the culture of the 1920s.
I enjoy talking about culture almost as much as I enjoy singing. The 1920s were a significant decade because in many ways they represented the first truly modern era in the United States. Much of what defines us now flourished in the so-called Roaring Twenties.
Like the present—like much of American history, in fact—this decade revealed a lot of cultural contradictions. For the first time the 1920 census listed more Americans as living in urban than in rural areas.
Americans were conflicted about this trend. On the one hand, they loved the fast, jazzy pace of life in cities. On the other hand, they longed for the life many of them had left behind and remembered as simpler.
It was also in the 1920s that a majority of Americans came to own automobiles. This revolutionized not just transportation but relationships between people, dating in particular.
Before widespread use of the automobile, couples had to court in homes or at social events. Once they could travel freely together in the privacy of cars, they found more opportunities for intimacy.
The decade also saw a huge expansion of American consumer culture in general, as advertising grew and manufacturers came to believe that in order to keep the economy going they had to increase demand for more and more material goods.
And convenience foods developed with a vengeance. Canned goods had been around for more than a century. They were increasingly produced in the ‘20s, and they were joined by a number of new processed food products that endure to this day, including Kool-Aid, Popsicles, Velveeta, and Wonder Bread.
This week I decided to re-create some food item from the decade. It took me a while to figure out what I wanted to make. Should it be a favorite recipe of my grandmother, a busy homemaker in the 1920s? Should it be something I had seen in a silent film?
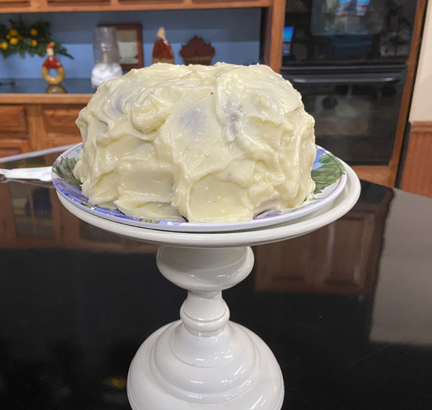
In the end I decided upon a recipe that has always fascinated me because of its improbability: Tomato Soup Cake.
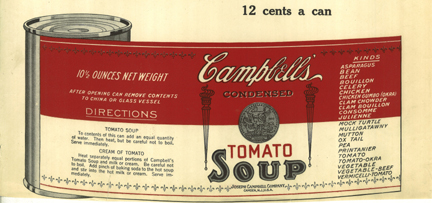
(Campbell Soup Company)
This concoction was known originally as Mystery Cake, probably because bakers then were, like me, a tad reluctant to admit that their spice cake included a can of tomato-soup concentrate, a strange and mysterious ingredient. I made it with THE classic American canned tomato soup, Campbell’s.
The Campbell Company was founded as Anderson and Campbell in 1869. Joseph Campbell, who sold fruits and vegetables, and Abraham Anderson, a canner, decided to combine their resources and skills. Anderson left the company within its first decade so Campbell is the name Americans now know.
In 1894, the company produced its first soup, a ready-to-eat tomato. In 1897, it took advantage of the newly invented condensing process to produce condensed tomato soup, which was soon followed by other condensed soup flavors.
According to the Food Timeline, the first mention of Tomato Soup Cake in print came in 1928. It was referred to as Mystery Cake.
The soup gives this spice cake a lot of moisture (there is very little fat in the recipe) and imbues it with a slightly orangey color.
A version of this recipe was the very first to appear on the label of a Campbell’s soup can, although that appearance came quite a few years after the cake entered popular cooking.
When I tasted the cake, I had the feeling I could taste the tomato soup—or could at least taste something vaguely processed—but perhaps that feeling was imagined. In general, Mystery Cake comes across like a normal spice cake.
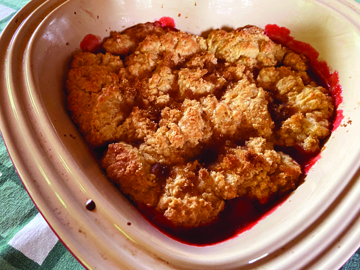
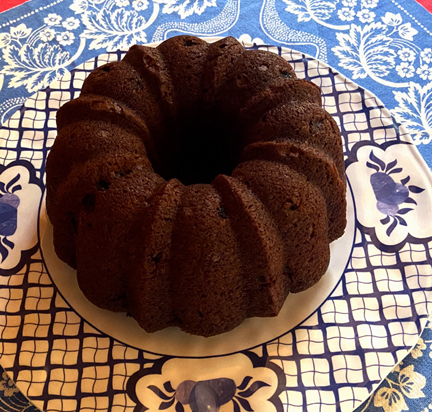
Here is the recipe, adapted from King Arthur Baking. As you can see from the photograph, I used my half-size Bundt pan for the cake. This is an anachronism; the first Bundt pan in the United States wasn’t manufactured until 1950. If you want to bake a true 1920s cake, use a 9-inch-square pan.
I happen to be a Bundt-cake fan because this shape ensures that every eater gets an outside slice, my favorite piece of any cake. I promise not to indulge in any anachronisms at my concert, however.
I made the cake on Mass Appeal last week; you may see the video here. I also sang a song from 1927 that will be included in our program, but that could not be put on the internet due to Canadian copyright law. (It was perfectly air-able in the United States, but the world-wide web includes the whole world, alas.)
1920s Mystery Cake (a.k.a. Tomato Soup Cake)
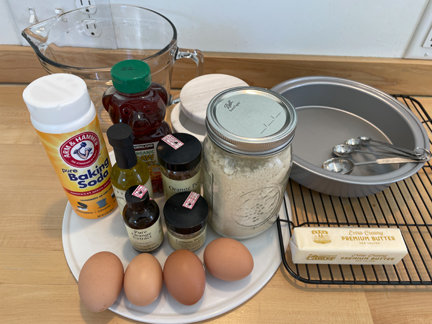
Ingredients:
1 large egg, at room temperature (You can achieve this temperature easily by taking the egg out of the refrigerator and placing it in warm water for a few minutes.)
2 tablespoons canola oil
1 cup sugar
1 can (10-3/4 ounces) condensed tomato soup
1 teaspoon baking soda
1/2 teaspoon salt
1 teaspoon cinnamon
1/2 teaspoon ginger
1/2 teaspoon cloves
1-1/2 cups flour
1 cup raisins
Instructions:
Preheat the oven to 350 degrees. Grease and flour a 9-inch-square cake pan or a 6-cup Bundt pan.
In a bowl, combine the egg, the oil, and the sugar. Blend in the tomato soup, followed by the baking soda, the salt, and the spices. On low speed, mix in the flour, followed by the raisins.
Pour the batter into the prepared pan, and bake until a toothpick inserted into the center of the cake comes out clean, about 35 to 40 minutes. Eat the cake plain or (my preference) with cream-cheese frosting. Serves 6.